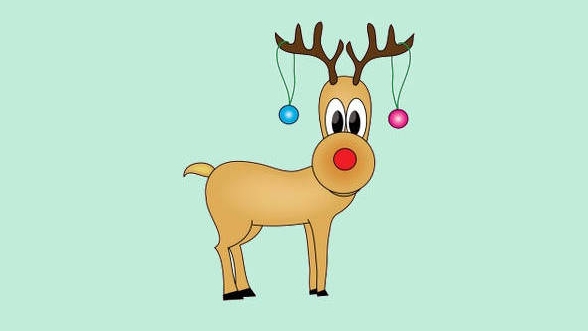
Creating your own stunning reindeer clipart is easier than you think. With just a few simple steps, you can have a beautiful and festive design to use for all your holiday projects. Follow along as we guide you through the process.
Step 1: Choose Your Design Software
Start by selecting a design software that you are comfortable using. Programs like Adobe Illustrator, Canva, or even Microsoft Word can work well for creating clipart. Make sure you have a good selection of drawing tools and shapes to work with.
Step 2: Outline the Reindeer Shape
Using the drawing tools in your chosen software, sketch out the outline of a reindeer. Start with the head and antlers, then add a simple body and legs. Remember, the simpler the design, the easier it will be to replicate and use in various projects.
Step 3: Fill in Details
Add in details such as eyes, nose, and hooves to bring your reindeer to life. You can also include a collar or decorative elements to make your clipart even more unique. Don’t be afraid to play around with different shapes and colors to create a one-of-a-kind design.
Step 4: Fine-Tune and Refine
Once you have all the elements in place, take a step back and look at your design as a whole. Make any necessary adjustments to ensure that everything flows together cohesively. This is also the time to clean up any rough edges or stray lines to give your clipart a polished finish.
Step 5: Save and Export
Once you are satisfied with your design, save it in a high-resolution format such as PNG or SVG. This will ensure that your clipart looks crisp and clear when used in various projects. You can now use your reindeer clipart for greeting cards, decorations, or any other holiday-themed items.
In just a few simple steps, you can create stunning reindeer clipart to use for all your holiday projects. So grab your design software and get started on your festive masterpiece!

